
Crop Top from Old T-shirt
Hola friends!
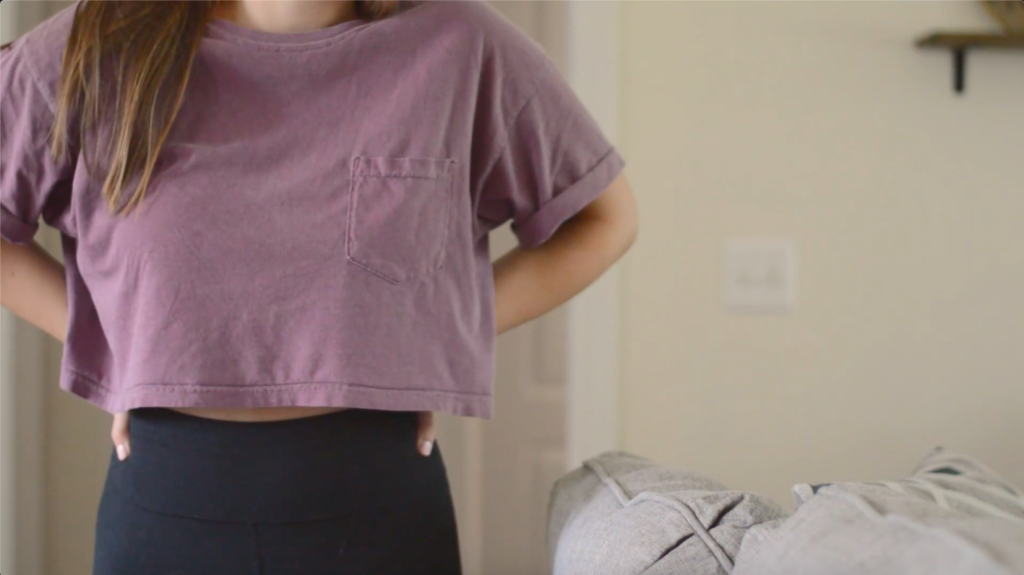
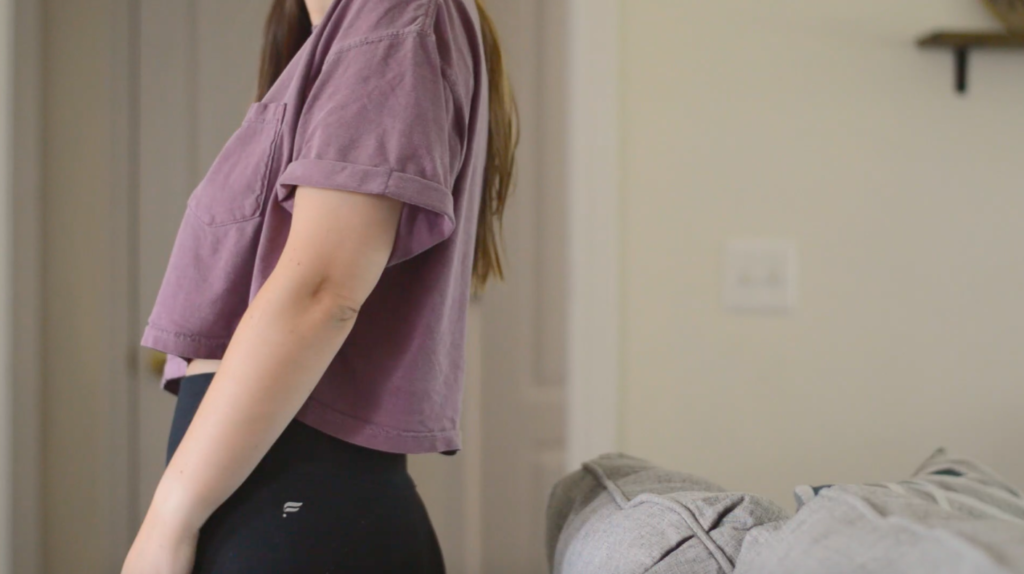
I have recently discovered a favorite item in my summer wardrobe, which is a cropped t-shirt! It’s so stinking comfortable. It allows for more airflow which keeps me cooler, it immediately remedies the old frumpiness factor of these t-shirts, and it’s just plain cute! I love wearing these cropped shirts with my high waisted leggings to keep the modesty while still being so comfortable.
A few months ago, my mom, sister, and I were walking around the Dollar Tree shopping for items I can’t recall. We ended up passing the clothes aisle and I spotted that unmistakable, washed, worn look of a Comfort Color t-shirt. If you’ve never worn a Comfort Colors…. well, you’re missing out. They’re possibly the comfiest tee’s ever.
We ran over and found that the bins were filled with tank tops mostly, and with limited sizes, but they happened to be my sizes! Well $20 and 18 shirts later…… You can imagine.
I put some cute HTV vinyl designs on a couple of them, but still had like 15 left. So I decided to start experimenting with cropping some of them. I started with the tank tops, because I had so many, but today I’m sharing the t-shirts. So without further ado, let’s get sewing!
First you’ll take your shirt and cut off the bottom section, leaving the top in-tact. I found the sweet spot for my shirts to be about 17 inches from top to cut line. You can adjust this to your liking, just hold the shirt up, and see about where you’d like it to fall.

Next, cut off the original hem of your shirt, leaving about a half inch for seam allowance.

Pin the original hem inside out along the bottom of your shirt all the way around.


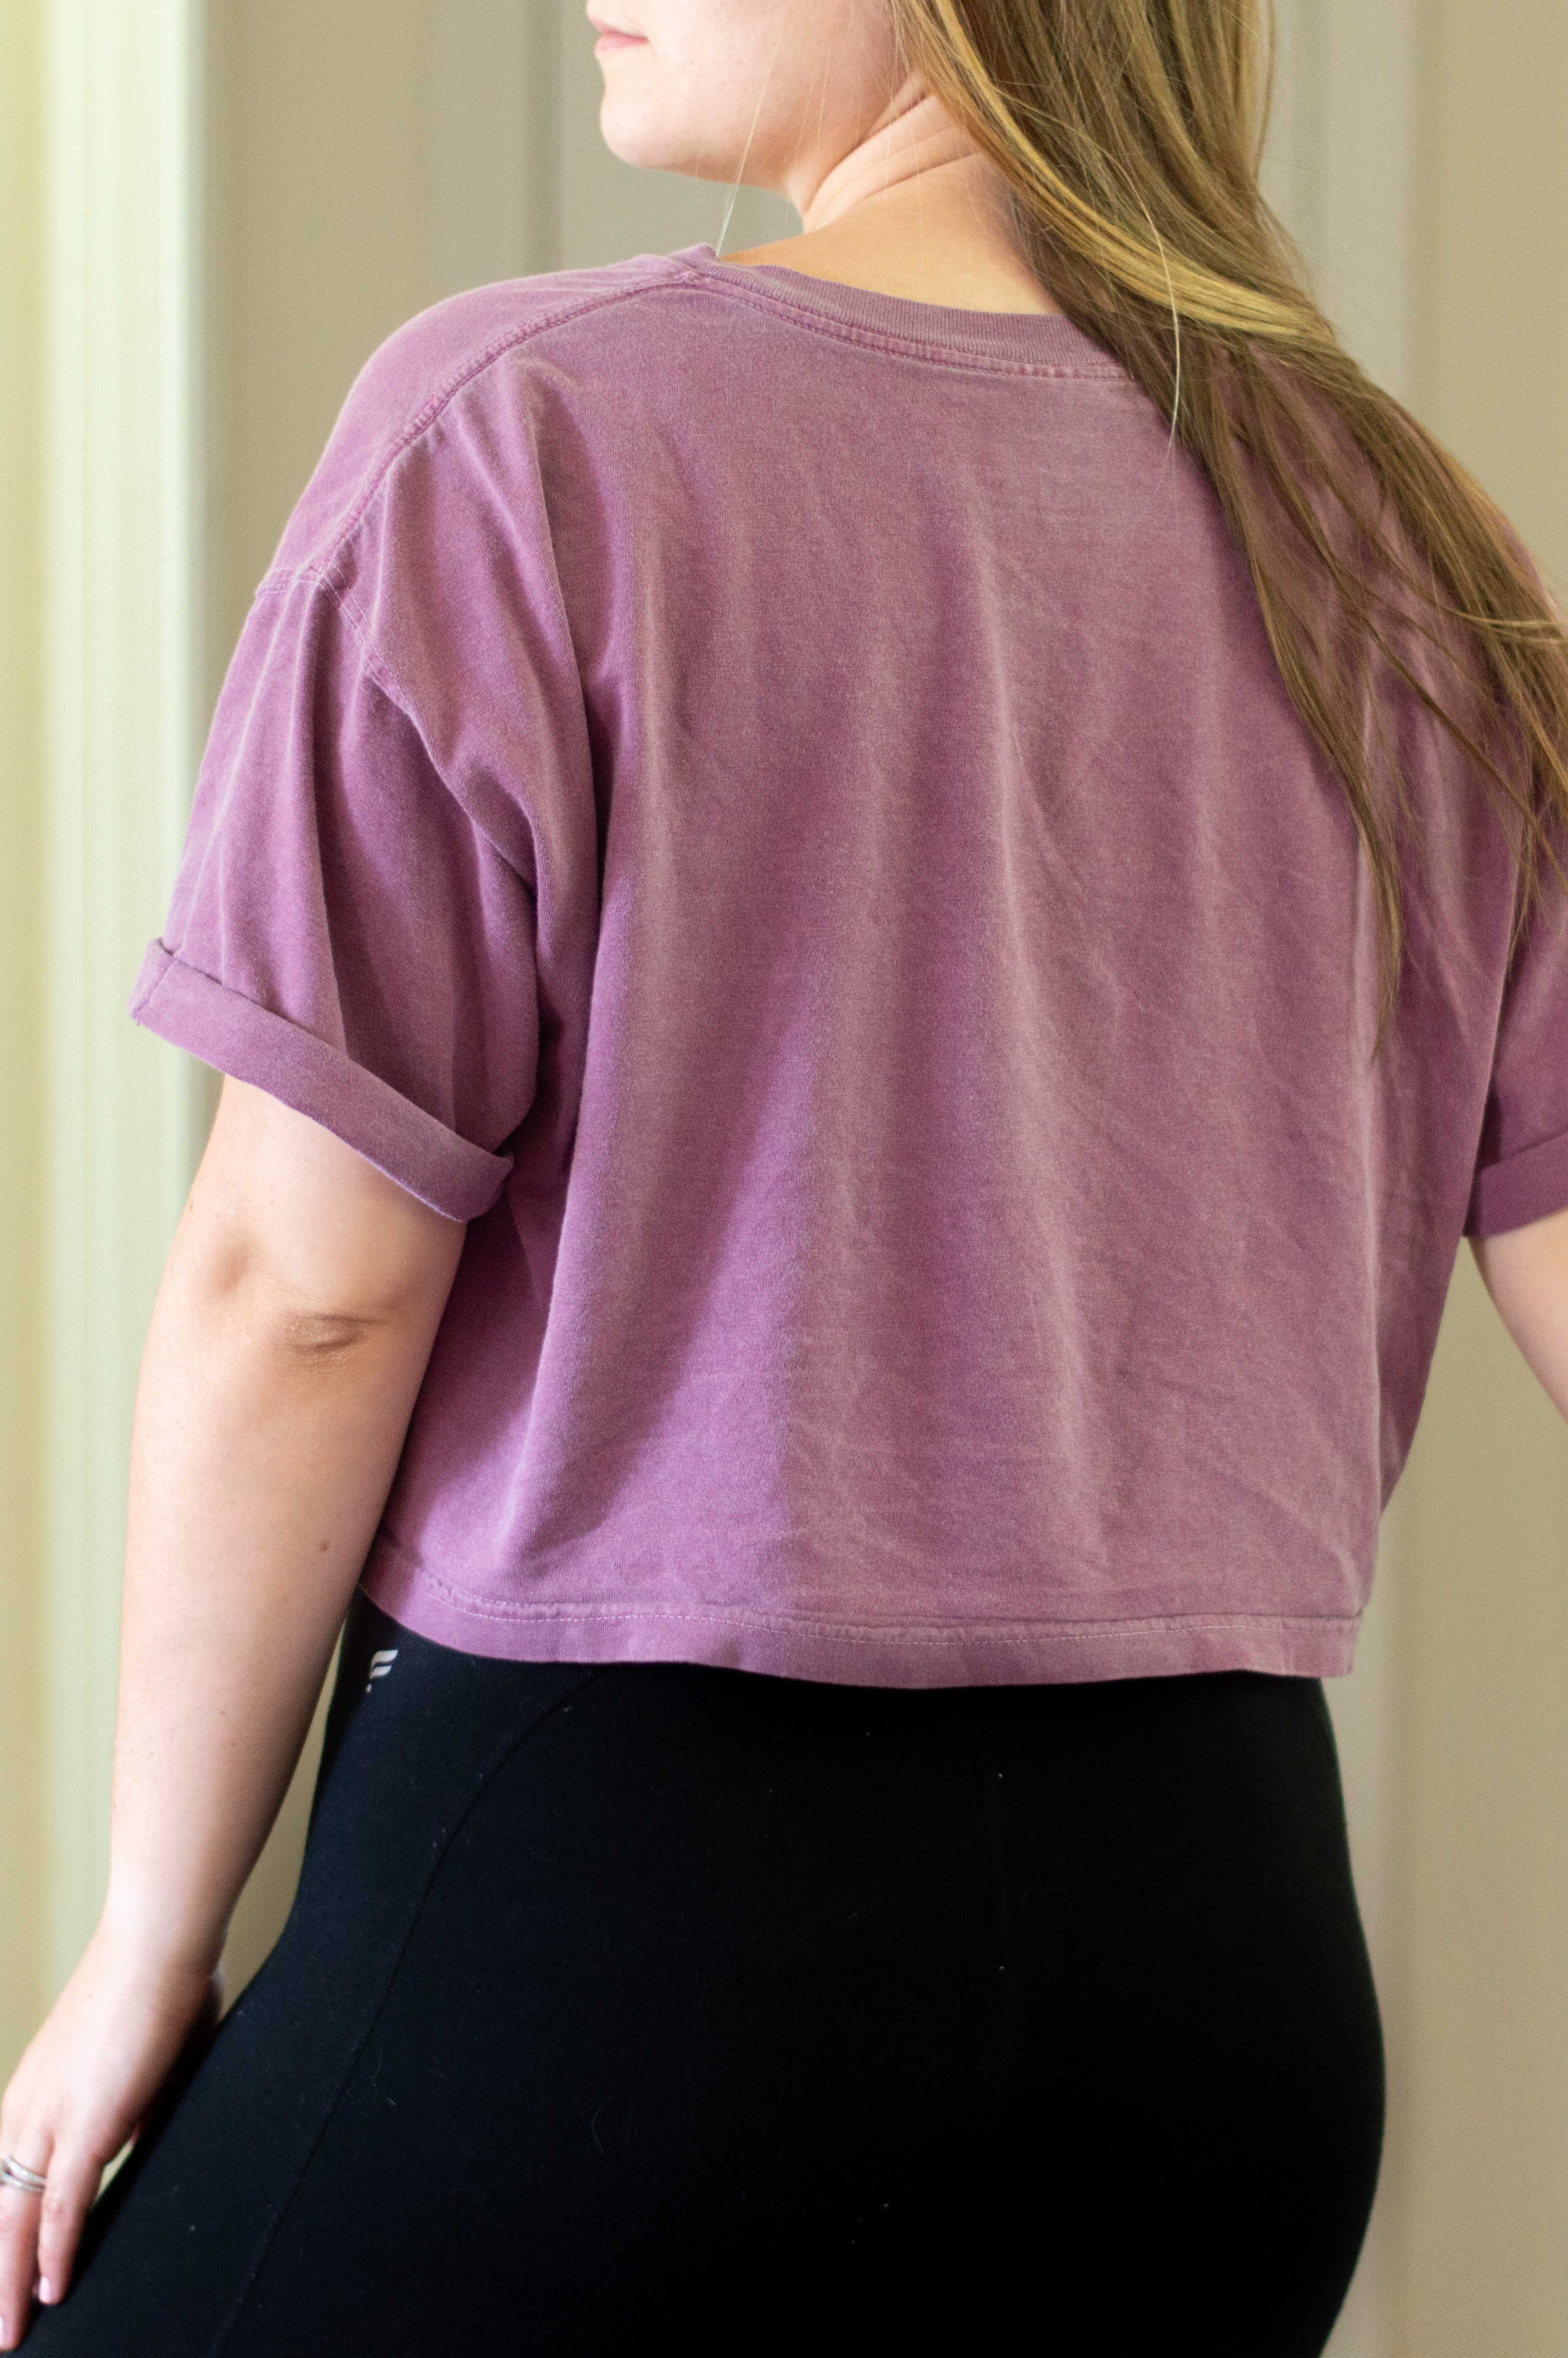
Sew your hem back onto your shirt, so when you fold it back out, it looks as if the hem was sewn there to begin with. You could leave the shirt cut without the hem, but I don’t think you needed my help to figure that out (;
Now again, you could stop here, but my preference with these tops is to use an oversized shirt, and with that, I end up with painfully long sleeves. So I like to take my shirts, and roll the sleeves over twice, then sew in place along the armpit fold and on top near the shoulder side of the fold.


Lastly, iron your hems in their new direction, and iron your cuffed sleeves to help keep them square and in place. You can trim off excess fabric along your new hem if you feel the need.


That’s it! This is a super simply DIY that allows some upcycling of old, useless t-shirts.


To see me make the shirt step-by-step, click the video below!