
Faux Brick German Smear
Hi friends and welcome to step 1 of my budget kitchen makeover! That’s right, there’s more work to be done, but those steps will come when my mother and sister come to town to help me! Let’s just take a look at my kitchen in its original state…
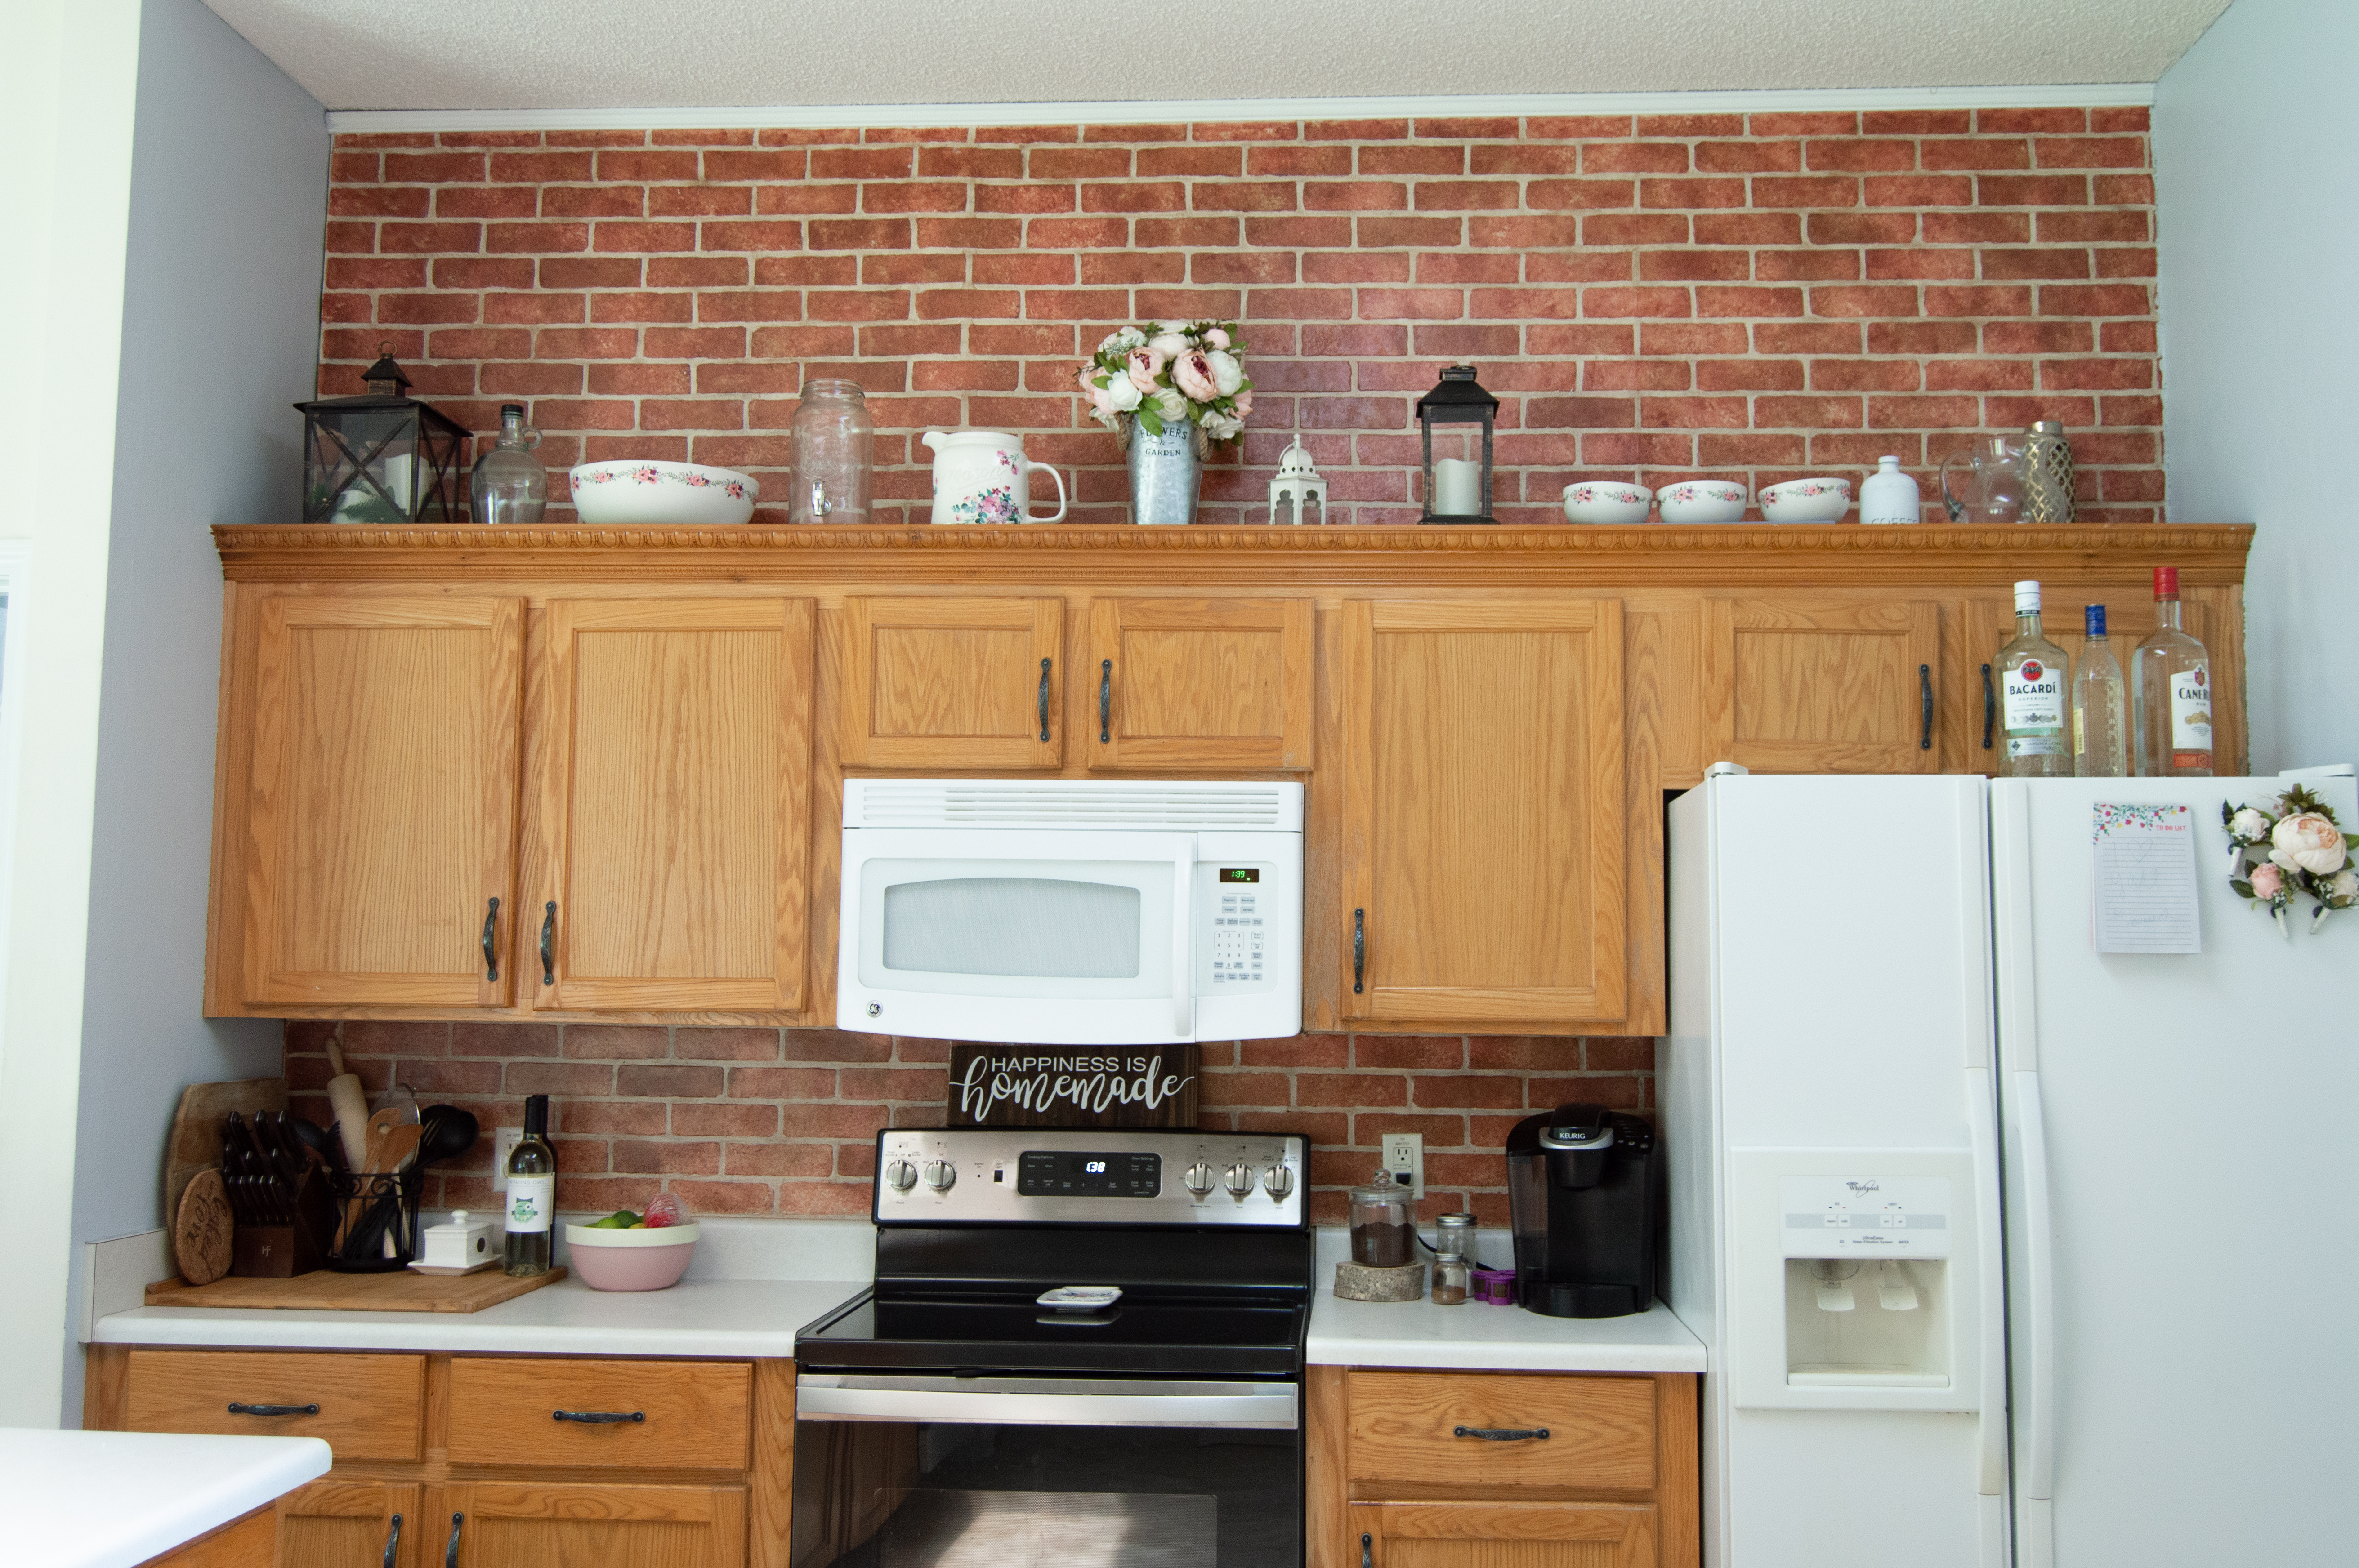
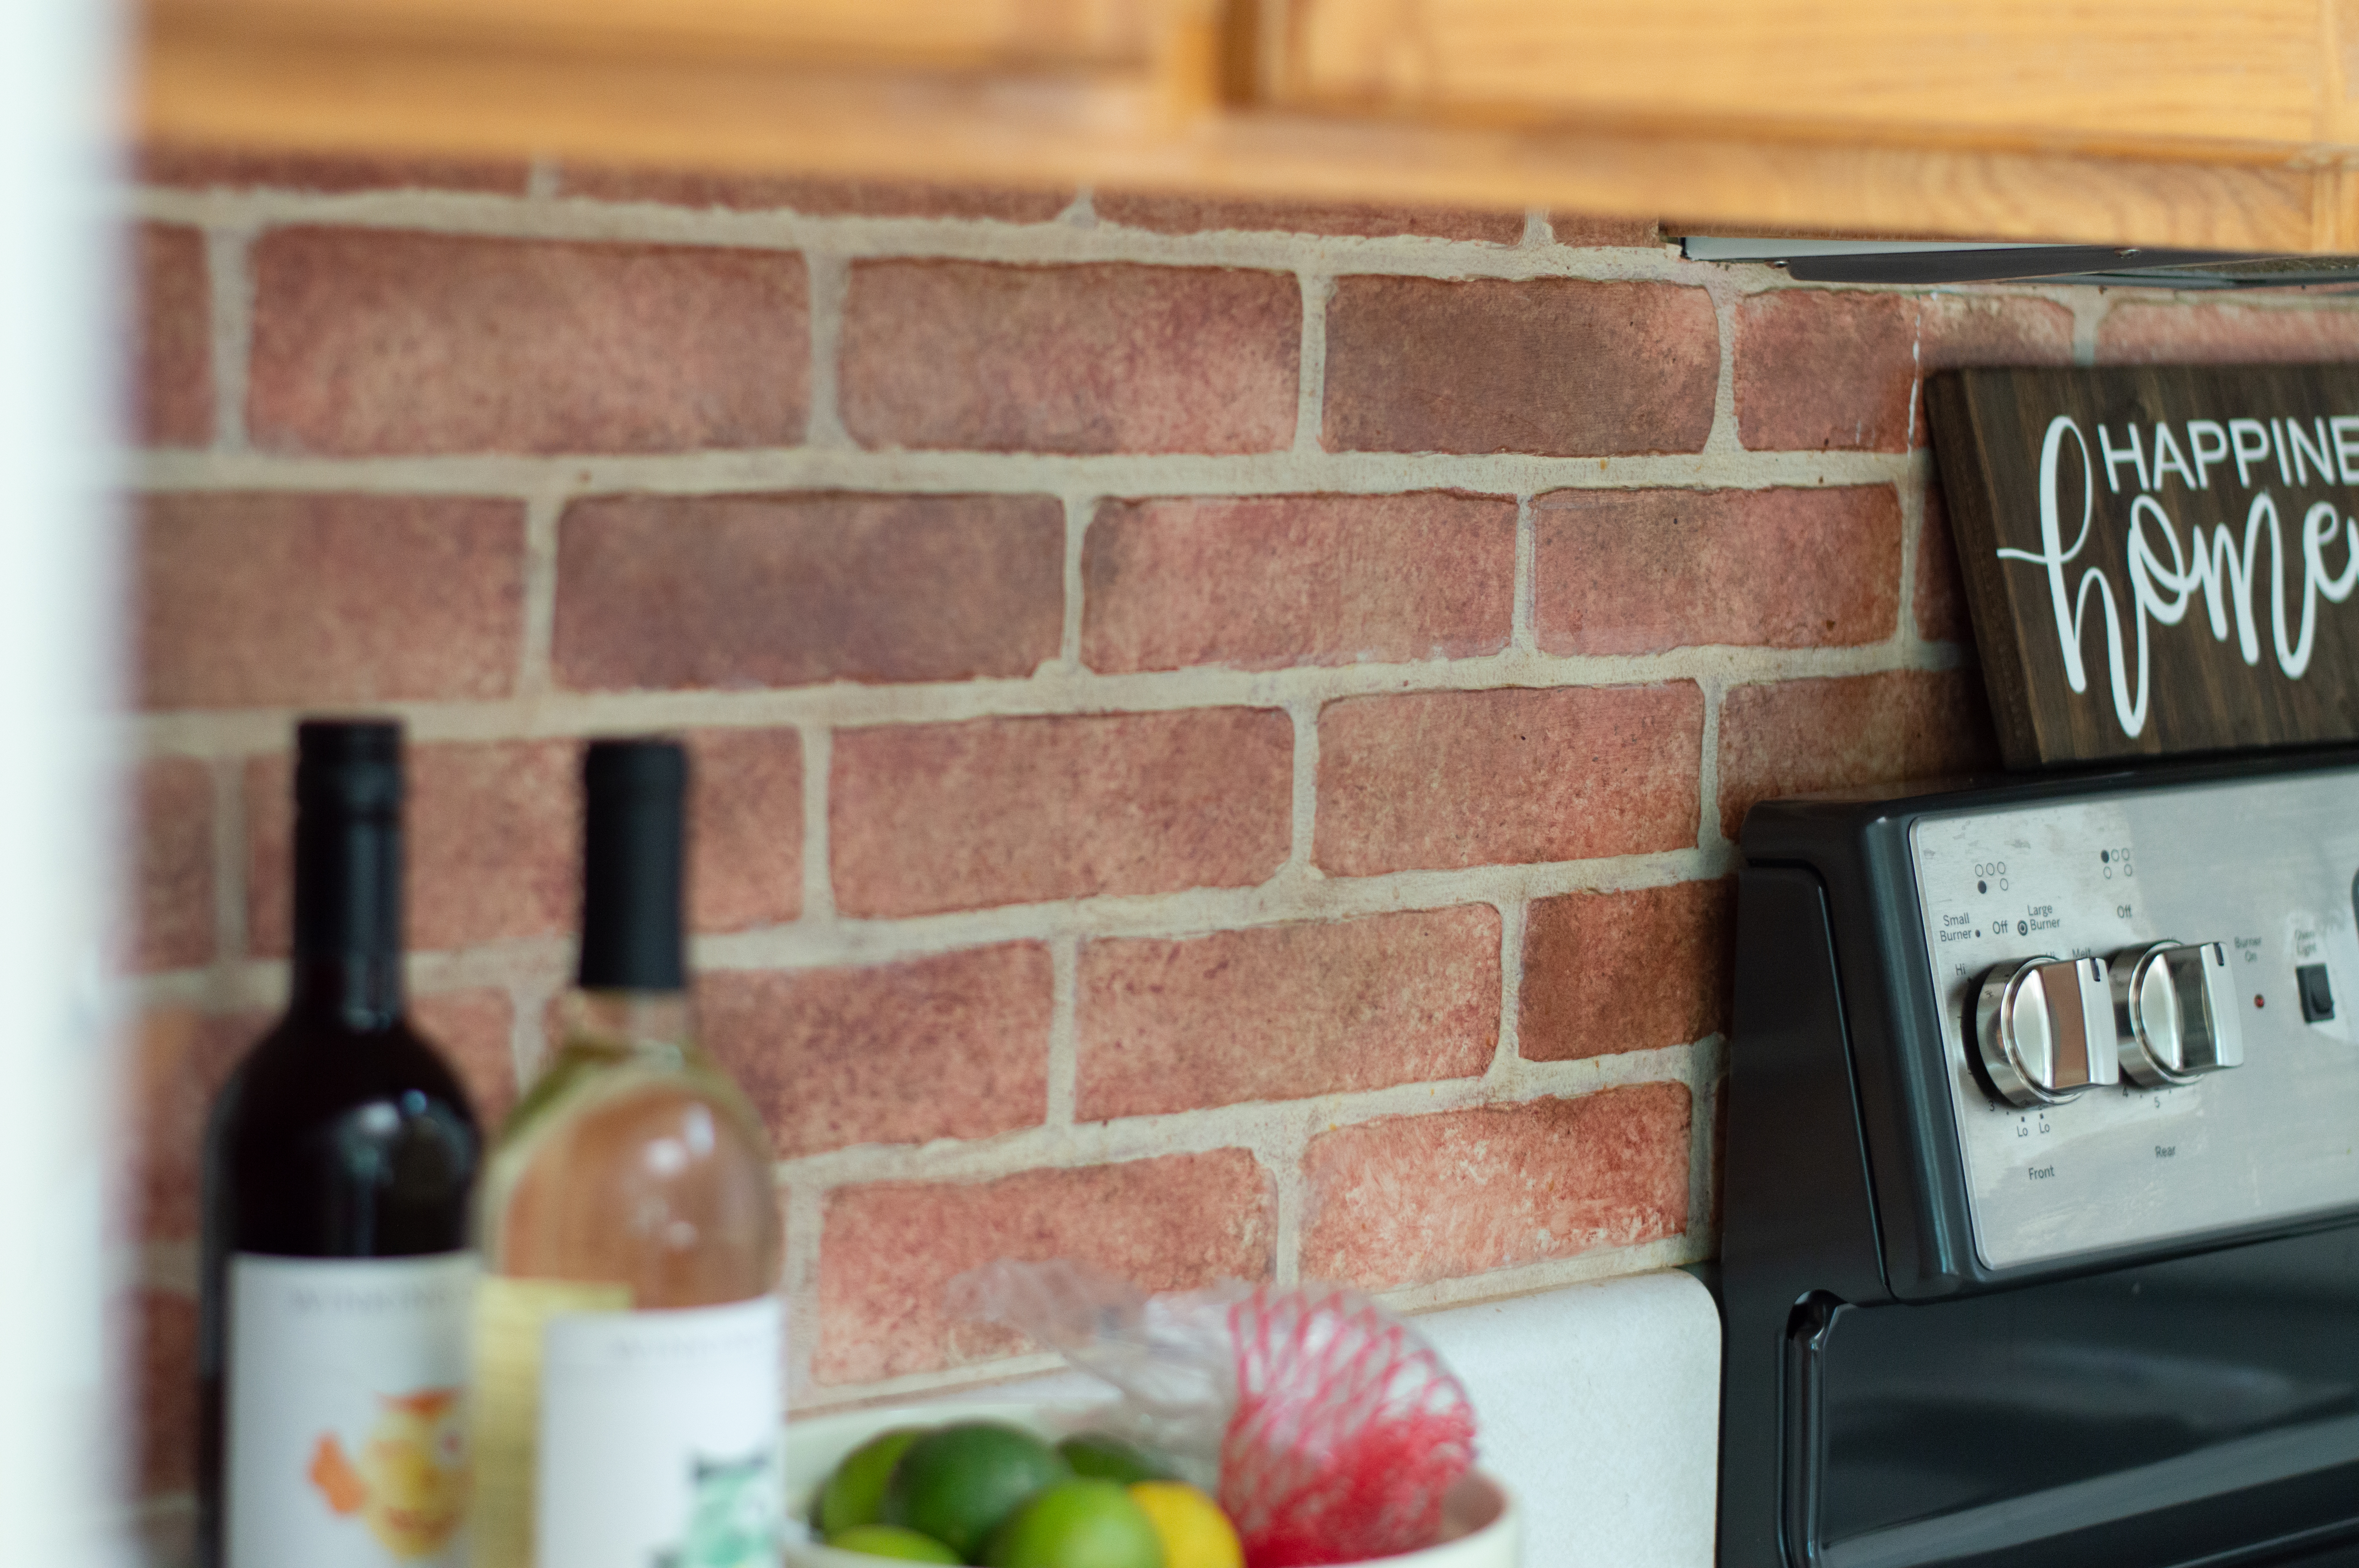
Actually now that I’m thinking about it, I suppose this is step two. A few weeks ago I painted my walls with a mystery grey paint from the garage. Here’s what my kitchen actually looked like originally.
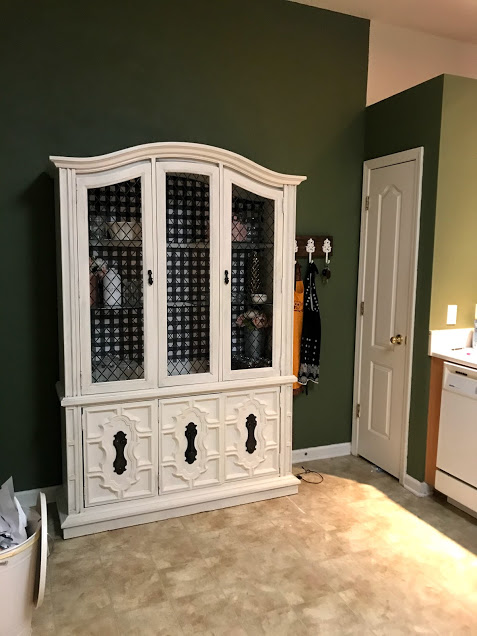
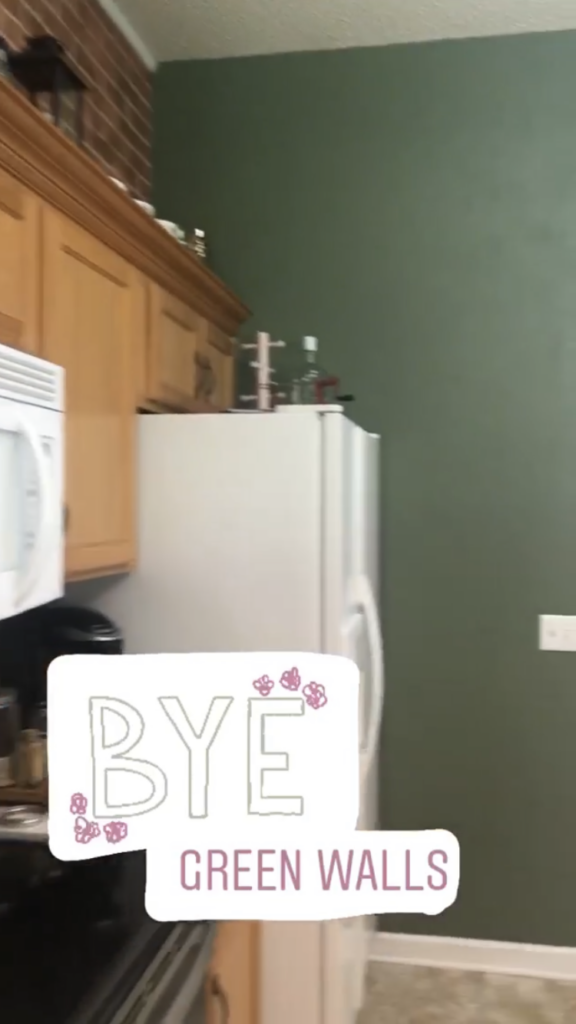
Jeepers. The very dark green was just not my style. I found a can of paint in my garage that was about 3/4 full, was some sort of grey, and was therefore the perfect candidate to go on my kitchen walls! Now, having painted them the “Manhattan Mist” by Behr, and seeing it in all lights of the day… it’s not my fave. It’s fine, it’s better than the green, the walls would have needed a primer anyway for my perfect paint color. But this grey is just SO blue. I prefer a warmer toned grey.
Annyyyywayyssss.
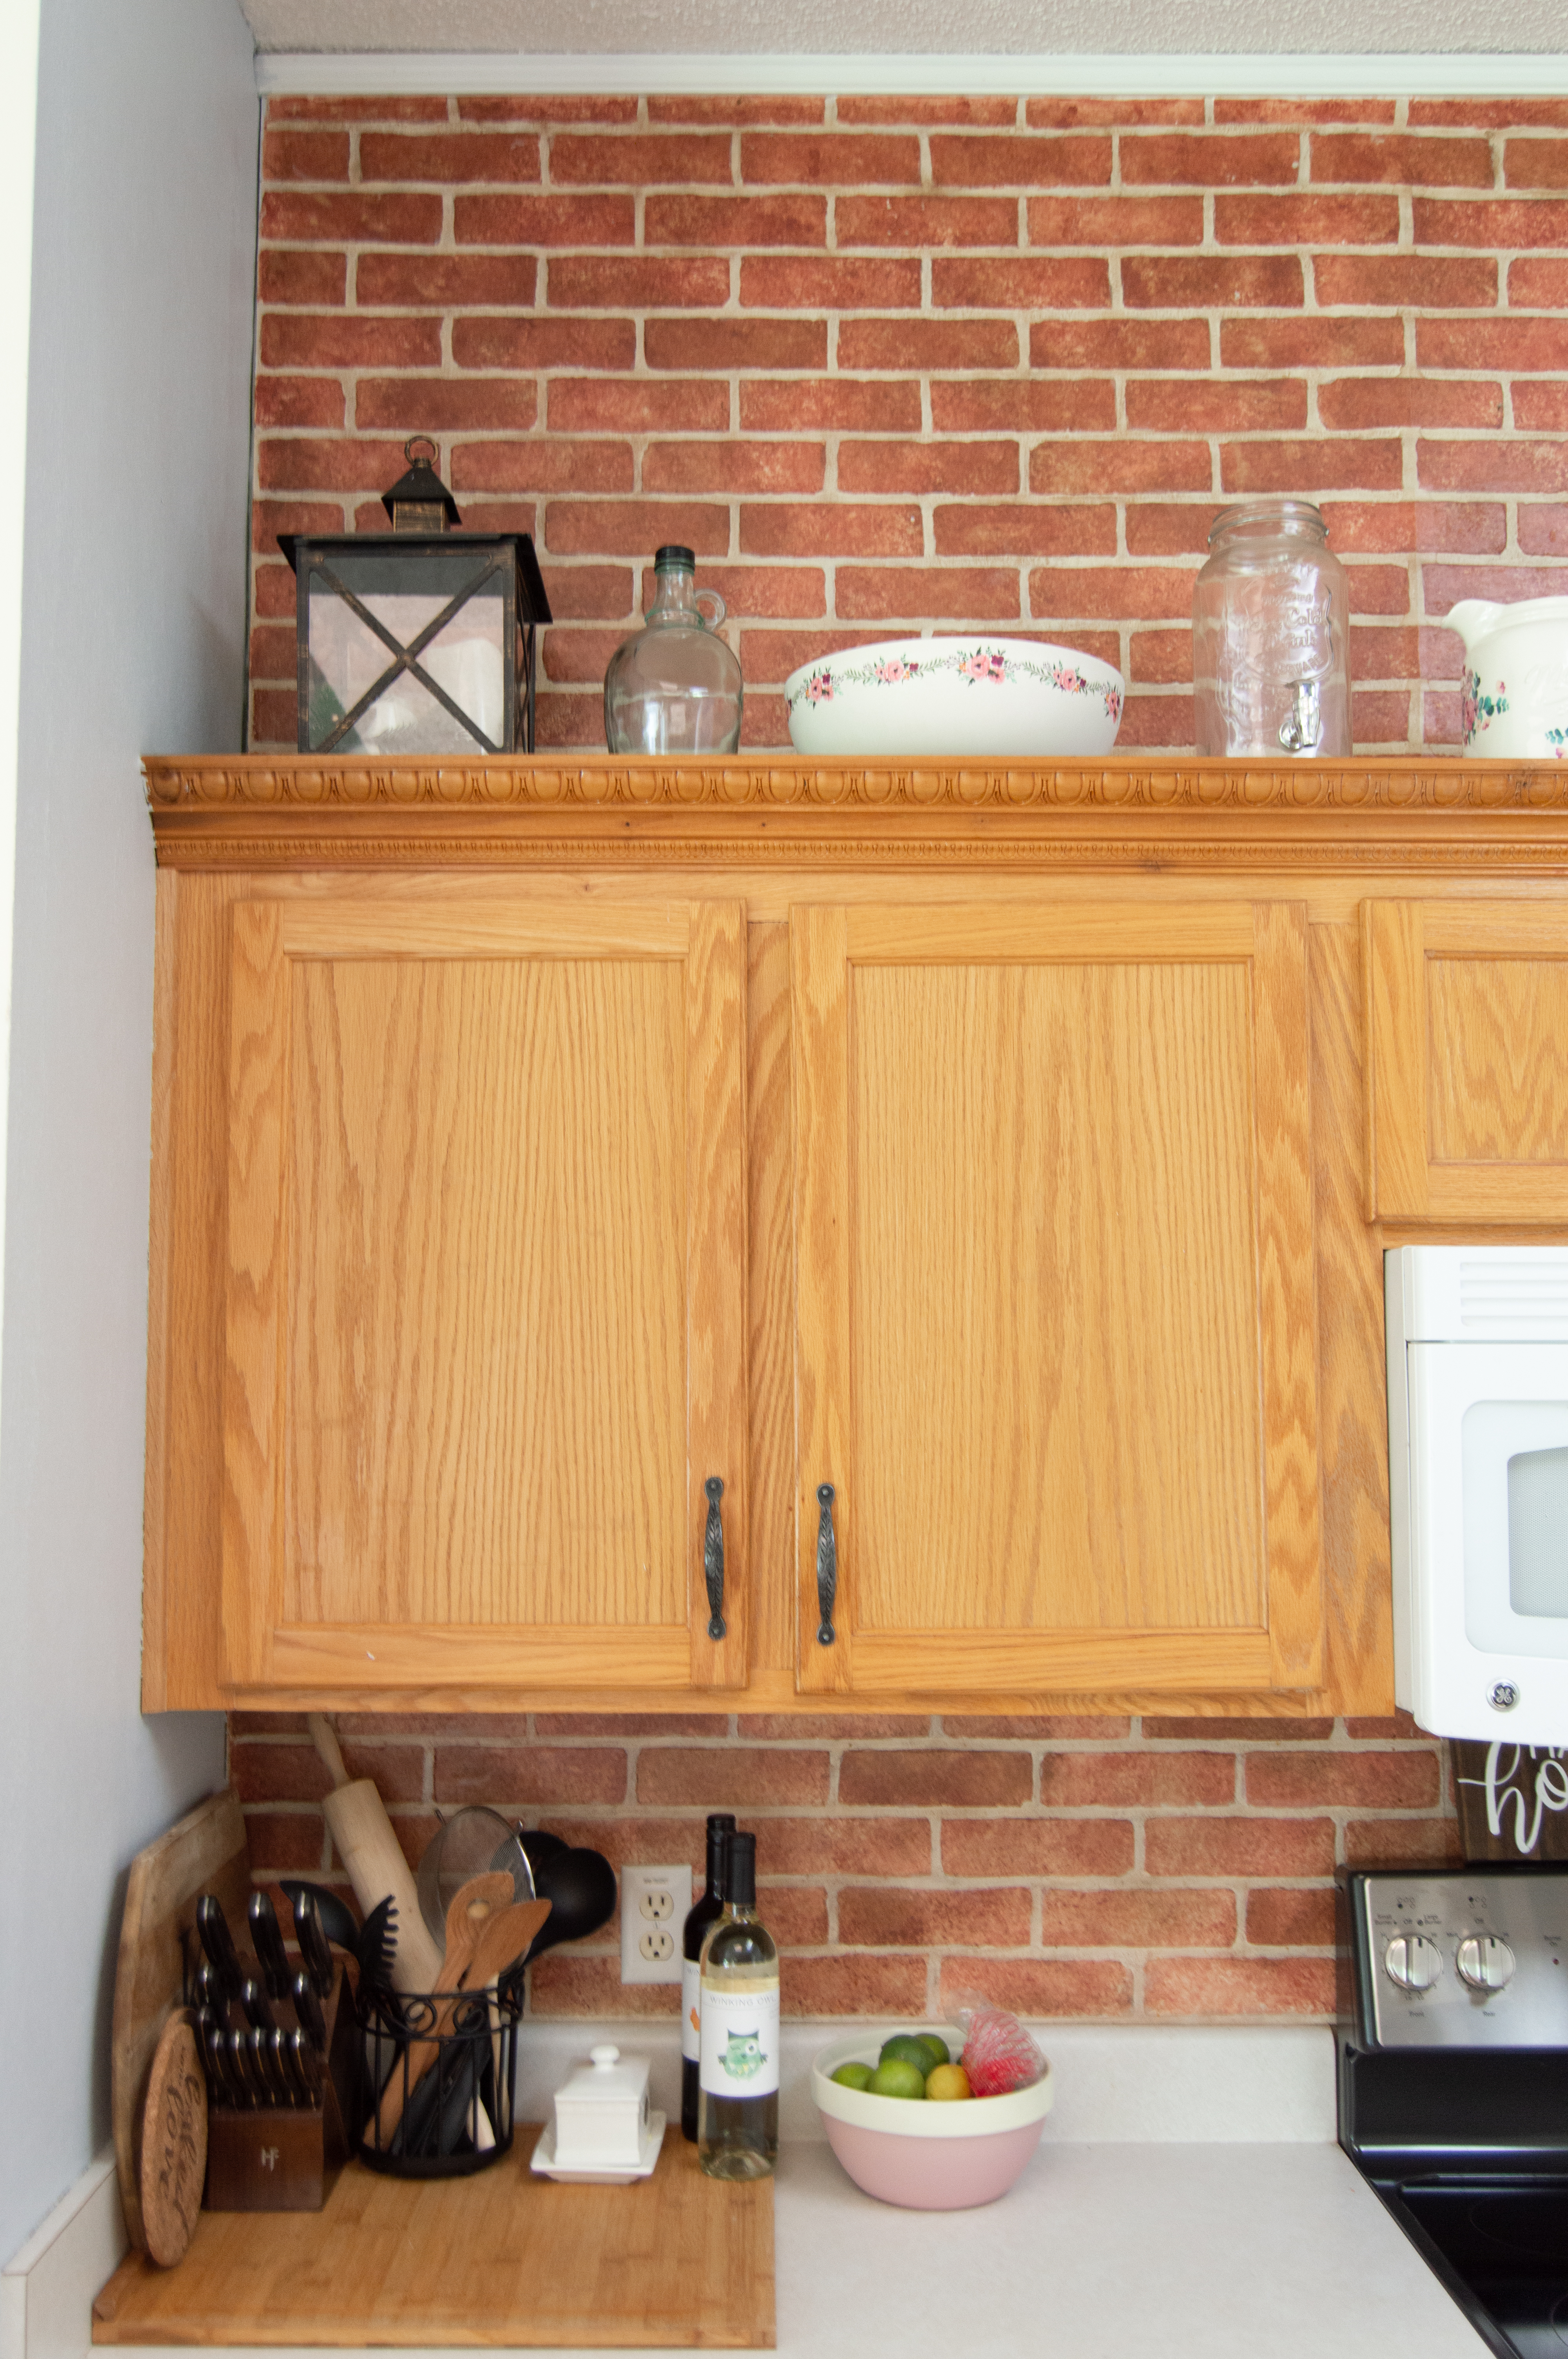
Now that the green was gone, I felt like it actually made my cabinets and brick backsplash look worse. Before, everything was kind of earthy toned, but now I just had a hodge podge of mess going on in there.
I should mention that I’m trying to do this entire kitchen makeover just through paint. My dream kitchen incorporates almost nothing that’s already here, but I’m thrifty, and seeking out ways to prove to the world that a coat of paint can give life to just about anything.
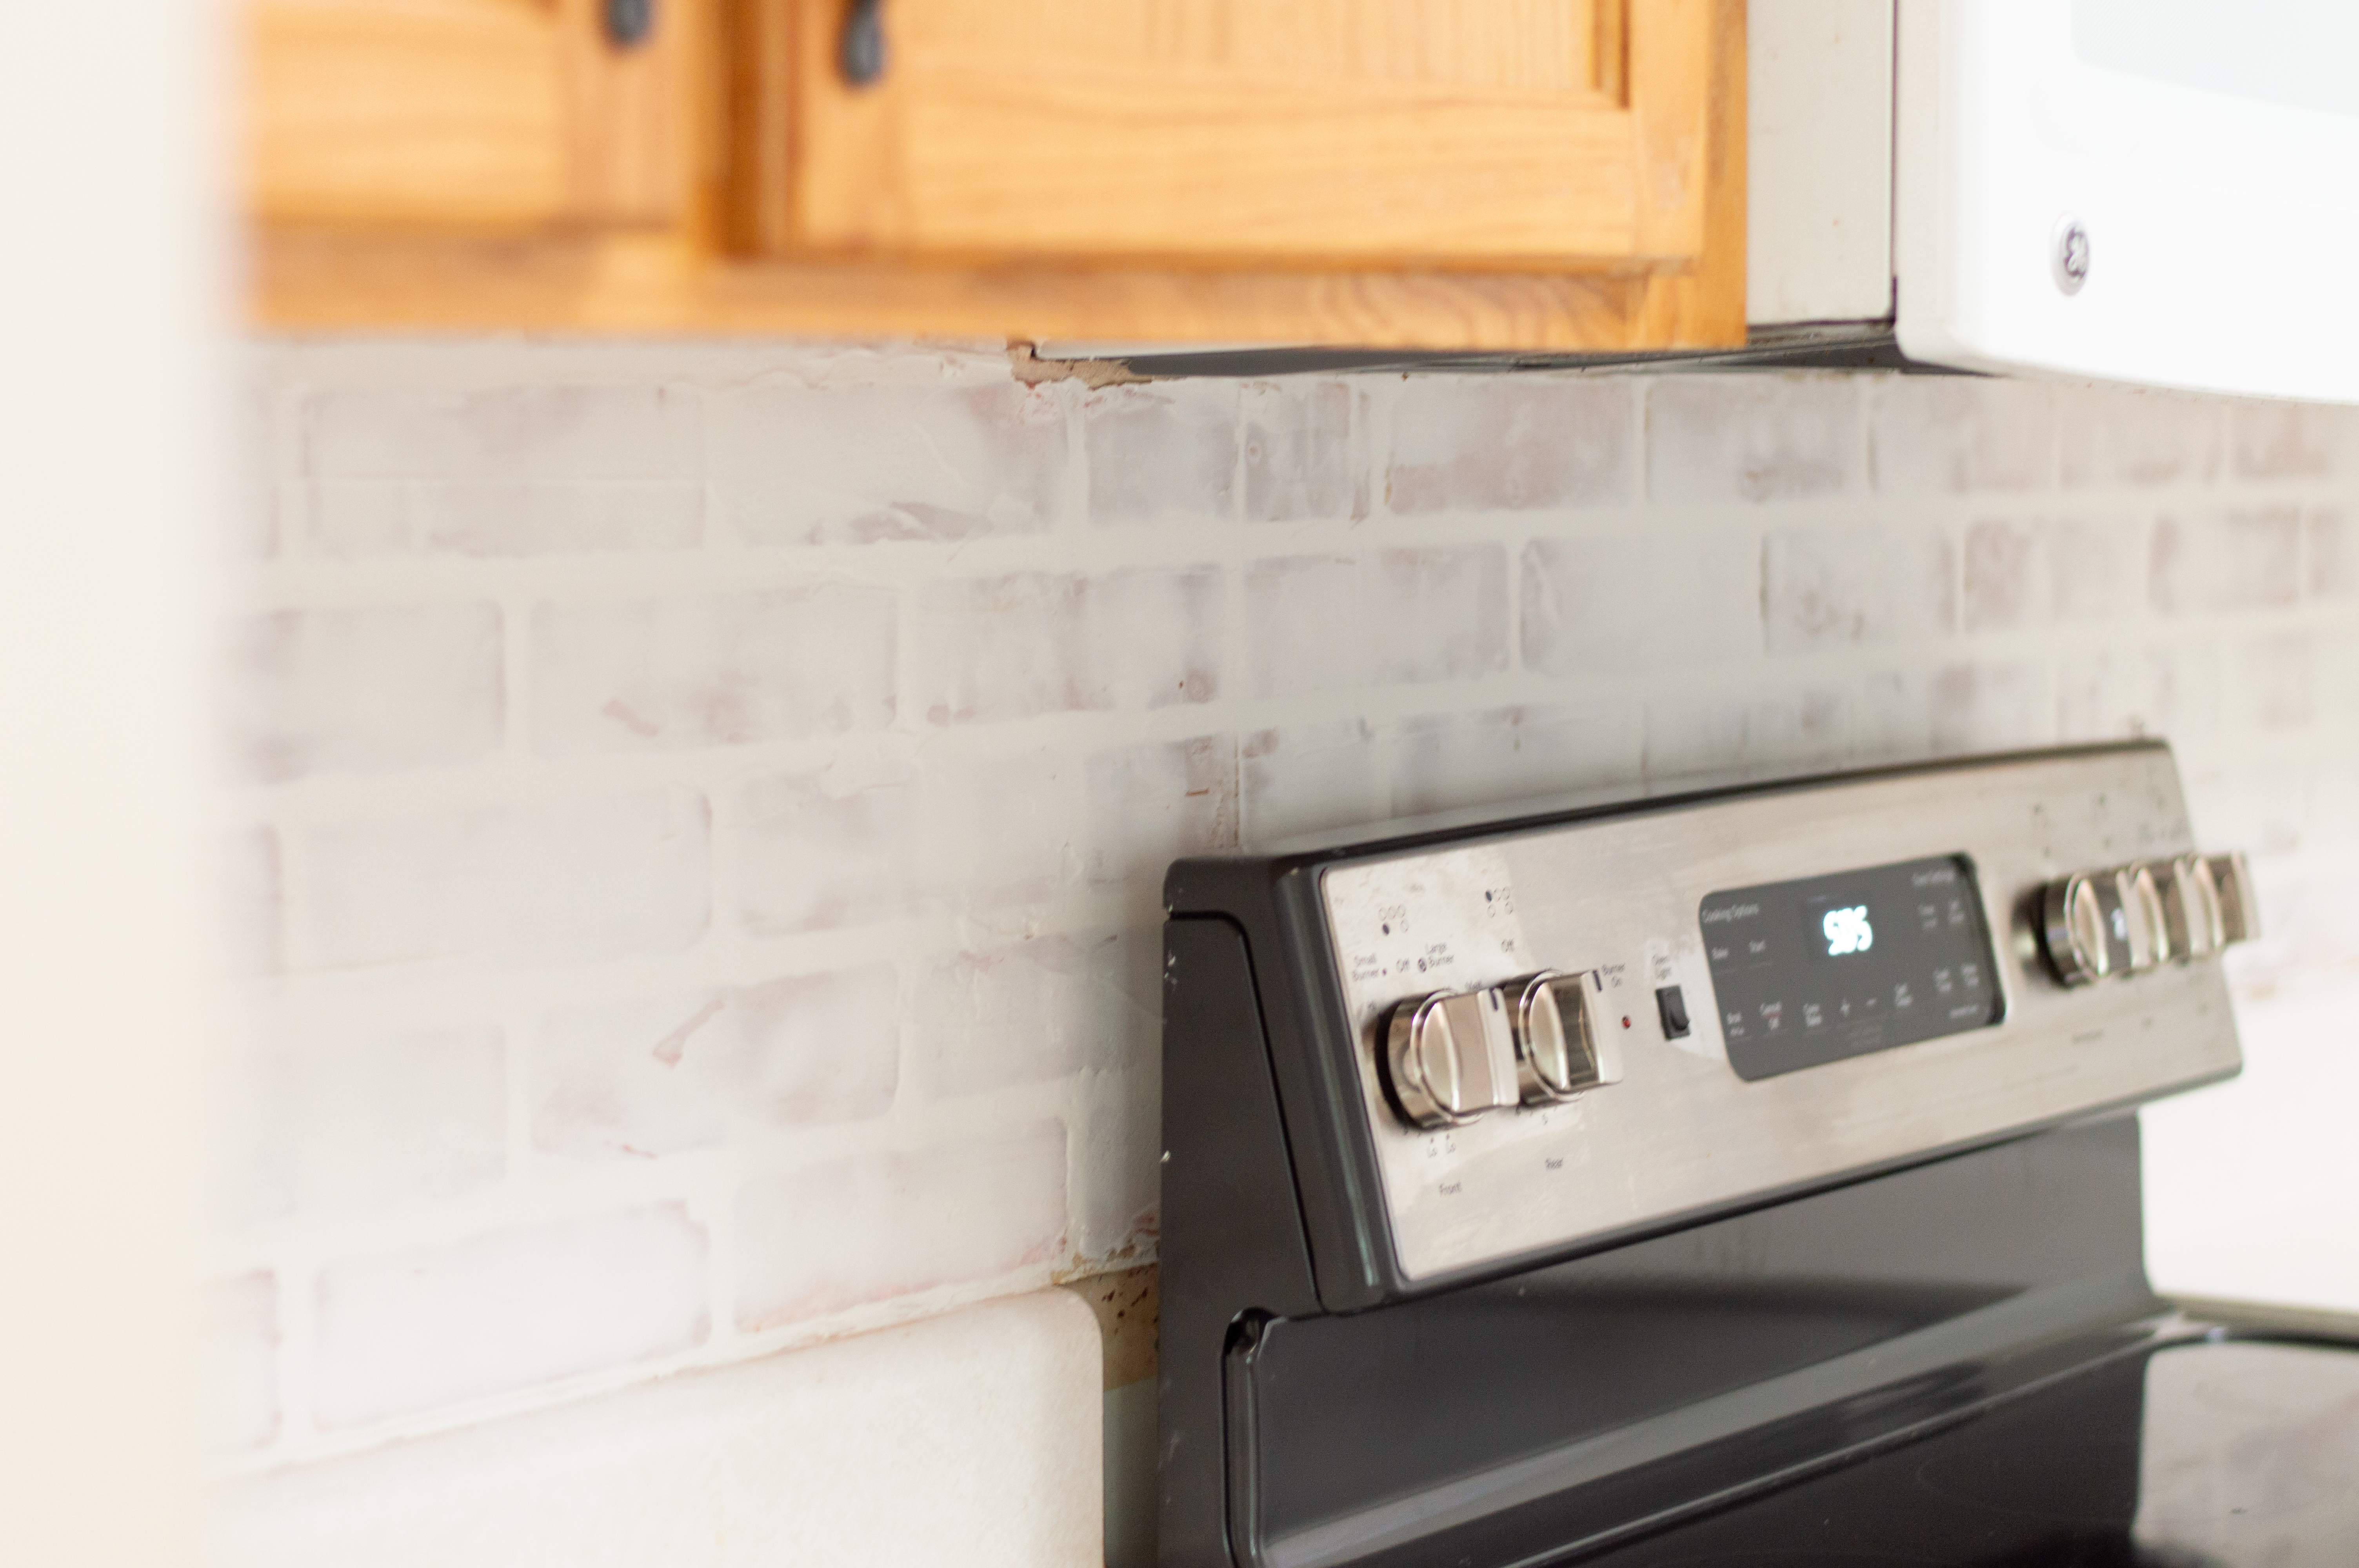
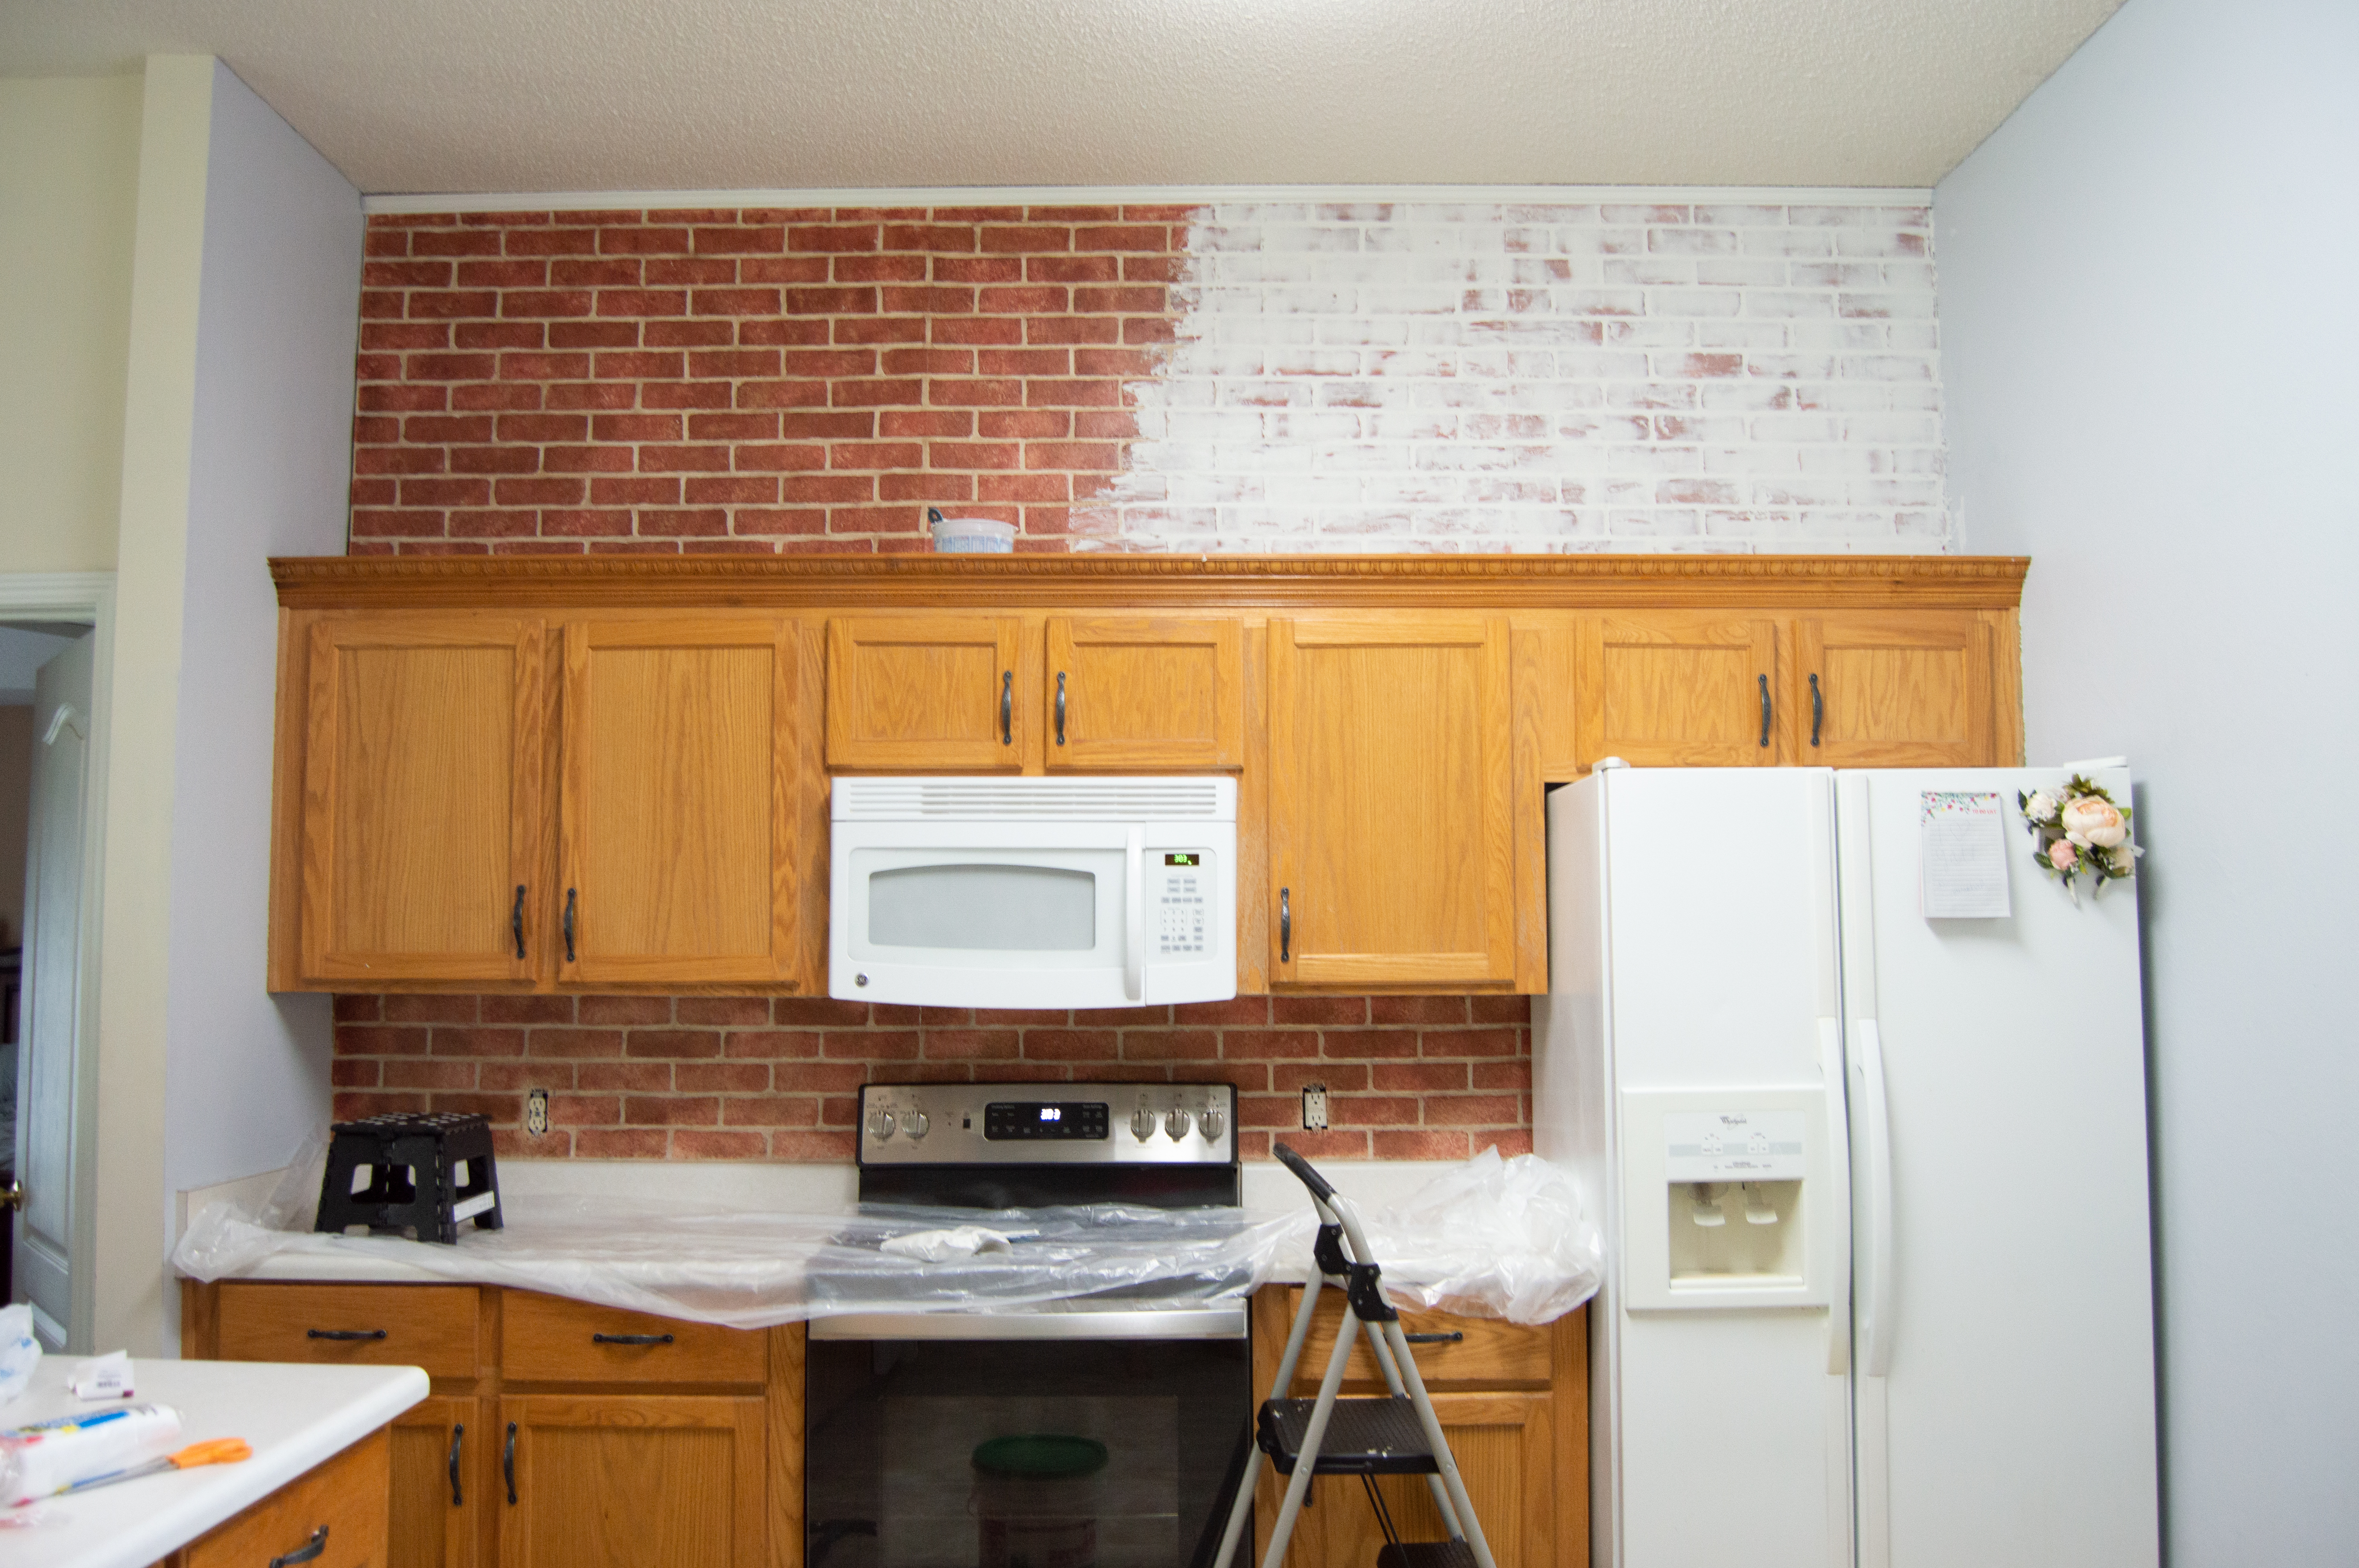
I wanted to tackle the brick backsplash and find a way to lighten and liven it. Painting it white was definitely an option. I’d looked up a ton of white washing techniques, but this is faux brick paneling. It had dimension, but not a lot. Doing a whitewash made me nervous that it would make the paneling stand out in a cheap way.
So I moved onto researching ways to german smear the wall. It’s very similar to whitewashing, but instead of just painting the whole thing with white paint, or a watered down white paint, it actually uses product to fill the grout gaps and smear over the exposed brick to give it a smoother look. You can decide just how much brick to leave exposed and how much to cover. I wanted a fairly heavy coverage, so that’s what I did.
There are many different products you can use to german smear. I researched dozens of “faux brick german smear” walls before starting and they were all very different. My method was a combination of techniques from most of the tutorials I watched, and I definitely experienced a learning curve while applying.
You can use the 3 products I saw the most were grout, spackle, and joint compound. I went with joint compound. Why? Probably because when I mentioned all the choices to my mom, that’s the one she said she’d go with. It was cheap, came pre-mixed, was already white, and cleaned with just water, so I went with it. This is the joint compound I got from Home Depot.
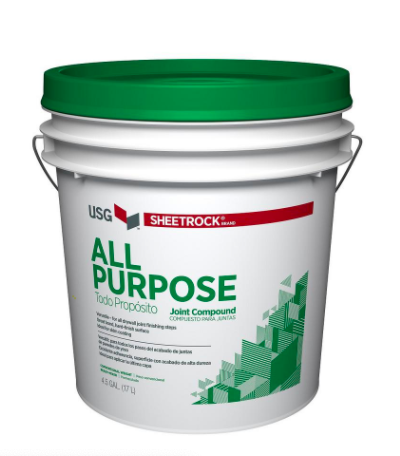
It was less than $14 and came in a 5 gallon bucket. There was a 3.5 quart container that was less than $8, but I wasn’t confident that I could do the whole project with that. So I bought in major bulk. Only the Lord knows how I managed to pick up that thing, put it in my buggie, and then into my car. It was SO heavy. (Shout out to Devin for carrying it inside the house for me)
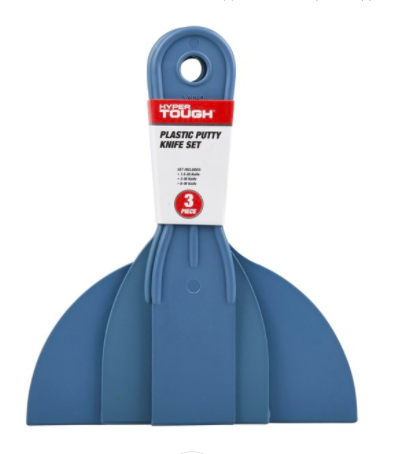
I also grabbed this 3 pack of plastic putty knives from Walmart to use to apply the joint compound. They were a little over $2 and worked great, the only complaint is that they were a little small, even the largest one. If I did this over again, I would invest in a large scraper/putty knife for bigger application.
The last thing I needed was a large sponge, to help spread the JC (joint compound) on the wall, but I forgot to get one. I used a random rag I had at home. It worked, but a large, soft sponge would have worked better.
Let’s get to smearing!
I prepped my space by removing everything from my counters and tops of cabinets. I took off all my outlet covers and covered the counters with plastic cloth. There really wasn’t that must dripping from the JC but it was nice to be able to set down my putty knife on the counter without worrying about the mess.
For a heavier coverage-
Spoon out your JC into a bag. Cut the corner off and pipe JC into cracks between bricks. Use the sponge to spread the JC over the bricks. After spreading the JC with the sponge, use your large putty knife at a very narrow angle against the wall to help bring out more of your brick and distribute the product. Do this as much or as little as you like until you like your coverage.
For a lighter coverage–
Don’t pipe the JC into the cracks. That will be way too much product, I suggest just spooning a bunch onto your large putty knife, and working it into your gaps at all angles. You can still use the sponge to pull your original bricks through.
Now you just move all over your entire space and cove it as much or as little as you like!
Pro Tips-
- Work in smaller sections. This stuff will eventually begin to dry and stiffen, and it’s very hard to work with and smooth out once this happens. I tried to go back to one section after it had been on the wall for about 15 minutes, and it was NOT cooperating. Take it bite by bite.
- Also step back from your wall often to see the big picture. I actually had my phone recording me from my other wall, and I was using my apple watch to see what my camera was seeing, and get my big picture without having to climb down from my counters every few minutes. This will just help make sure you aren’t exposing too much brick in one area and neglecting others.
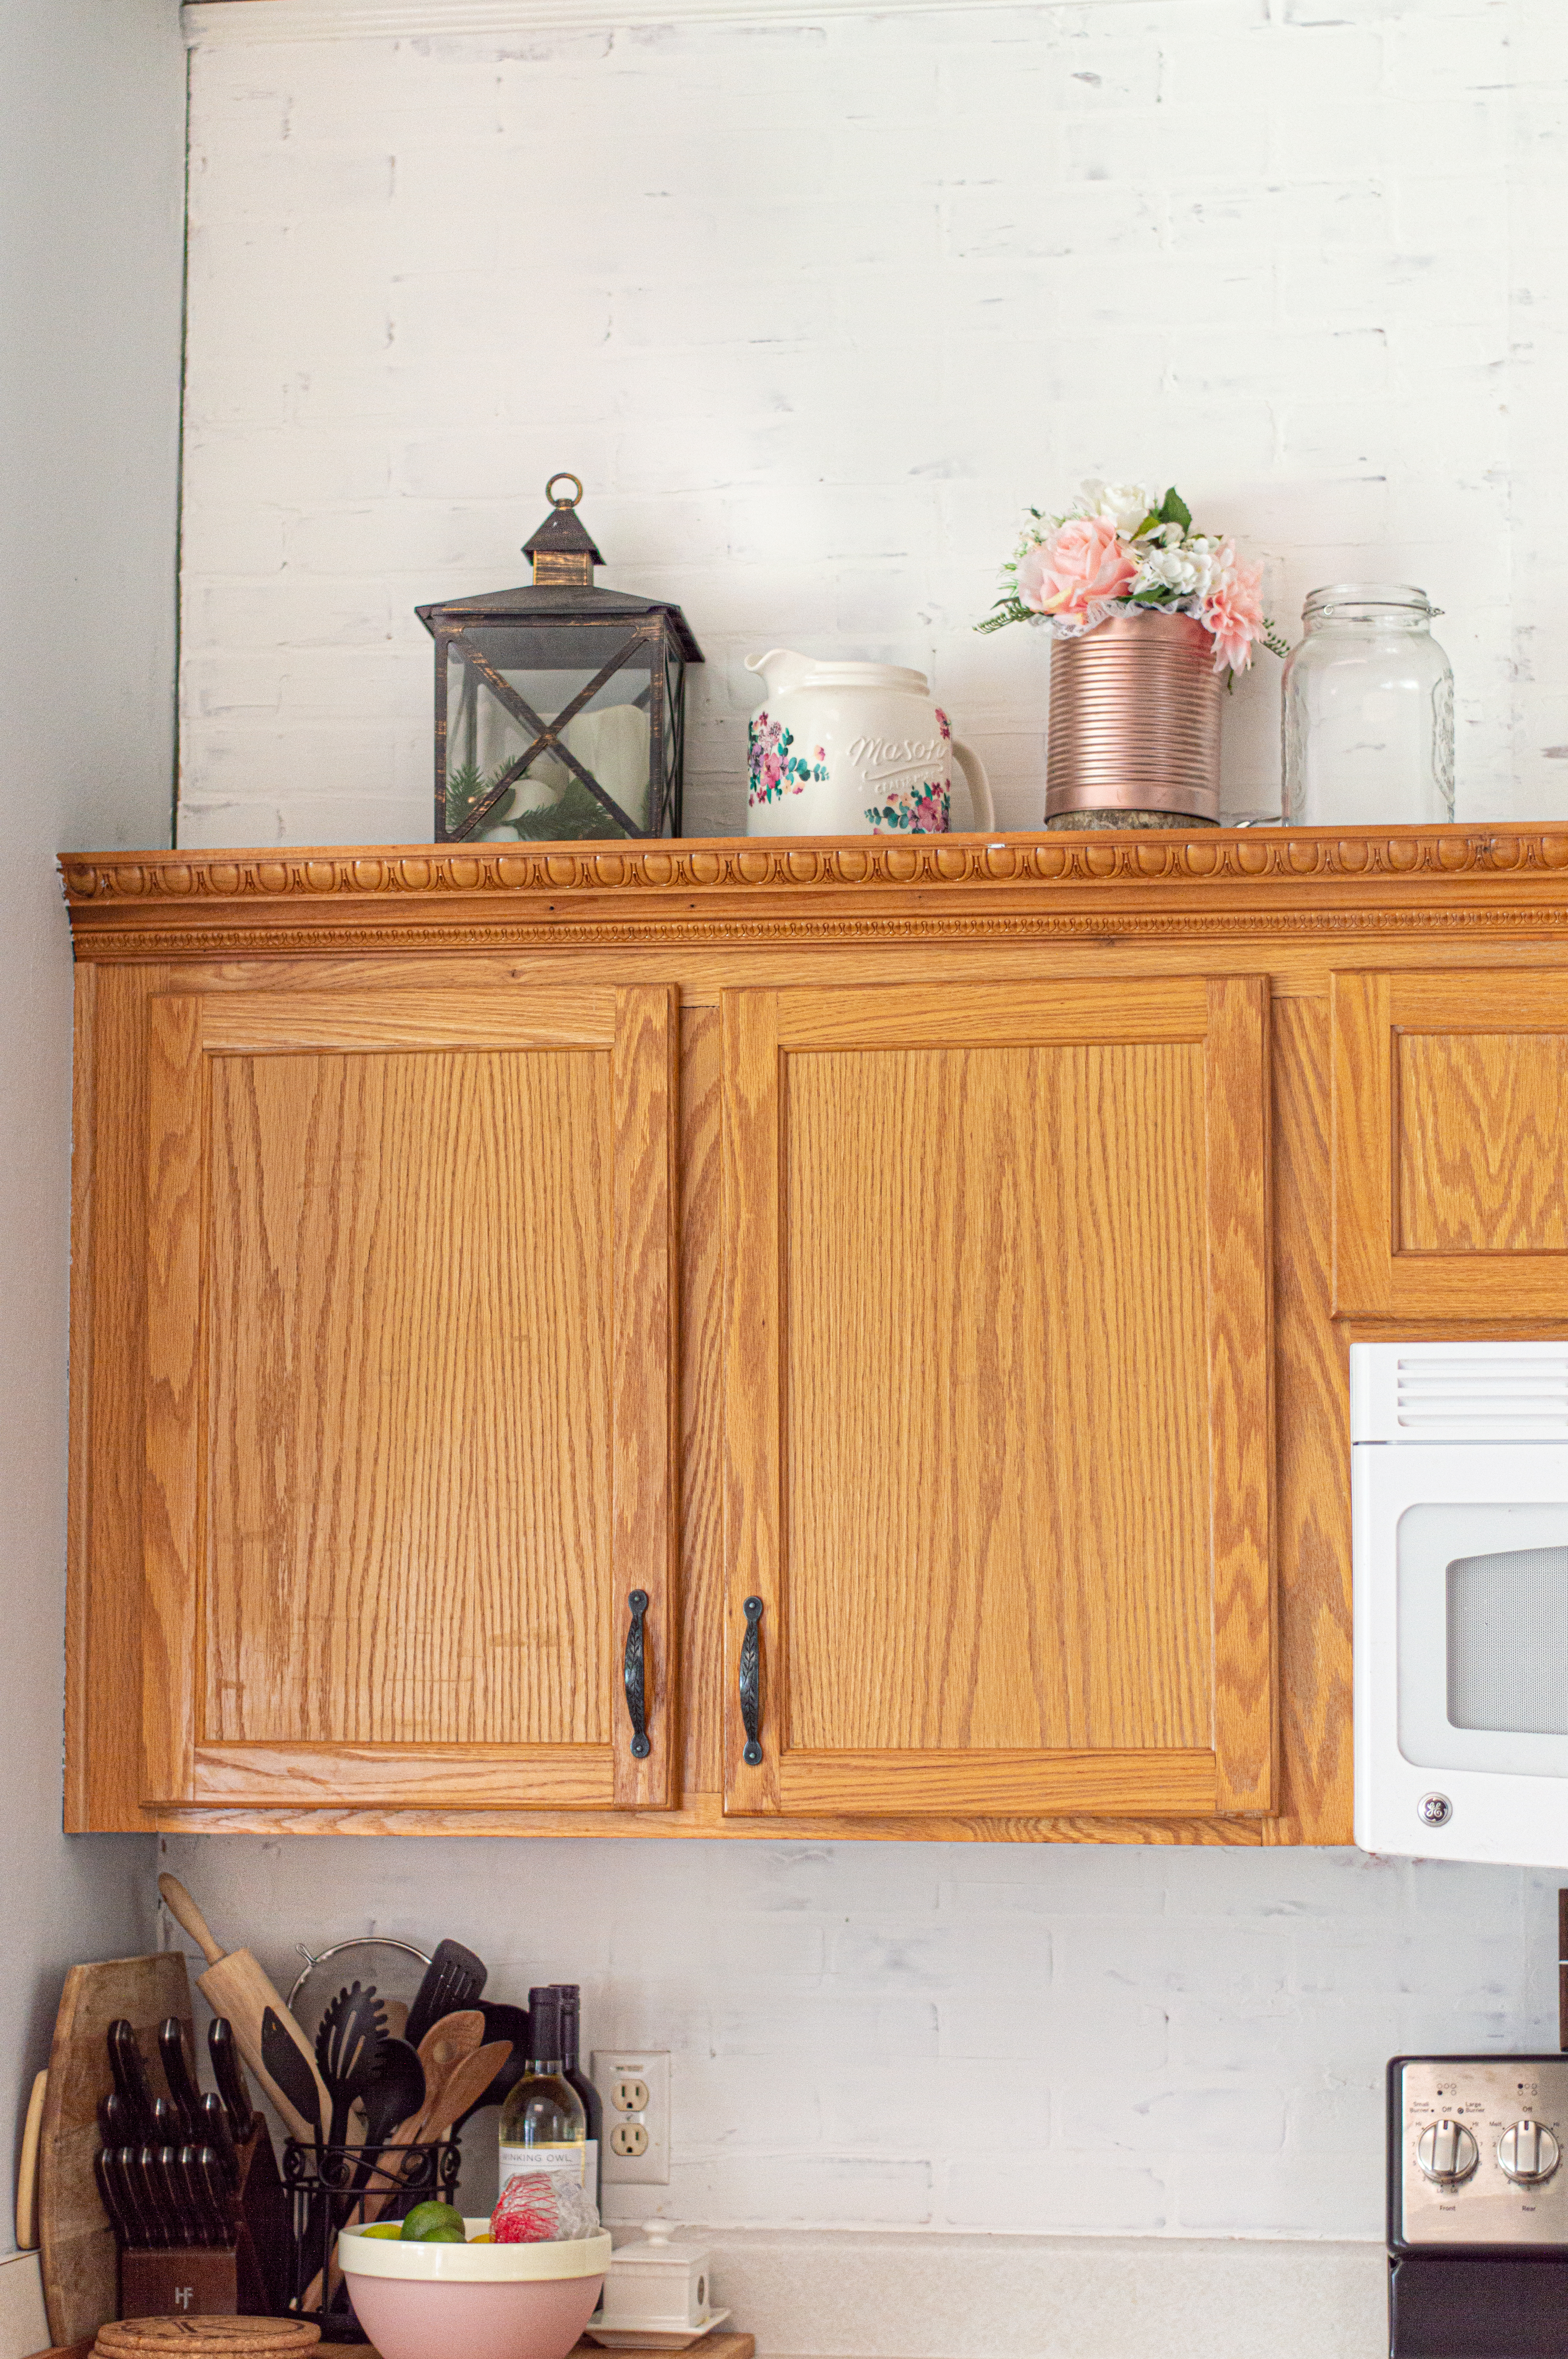
- It’s okay if there’s a little more brick showing than you would prefer when you finish. Your next step is going to be to seal your wall with a whitewash, so be prepared for everything to get a little bit more opaque tomorrow when you complete this step.
Let the JC dry completely. I don’t know how long to tell you to wait, but I let it dry overnight, about 20 hours from when I started. You need to seal your wall. You can do this with polycrylic, but that would be very expensive and in my opinion, unnecessary. Just use white paint diluted in water to seal it all in. One of the tutorials I read told me to do 1 part paint, 3 parts water. I did this at first, and it was too thin. It didn’t cover much of my exposed parts at all, and actually, I think the high water content actually pulled some of my product off with the brush. I ended up adding more paint to have a less diluted formula. My suggestion would be to start with a 1:1 ratio, and add paint or water from there, depending on what you’re looking for.
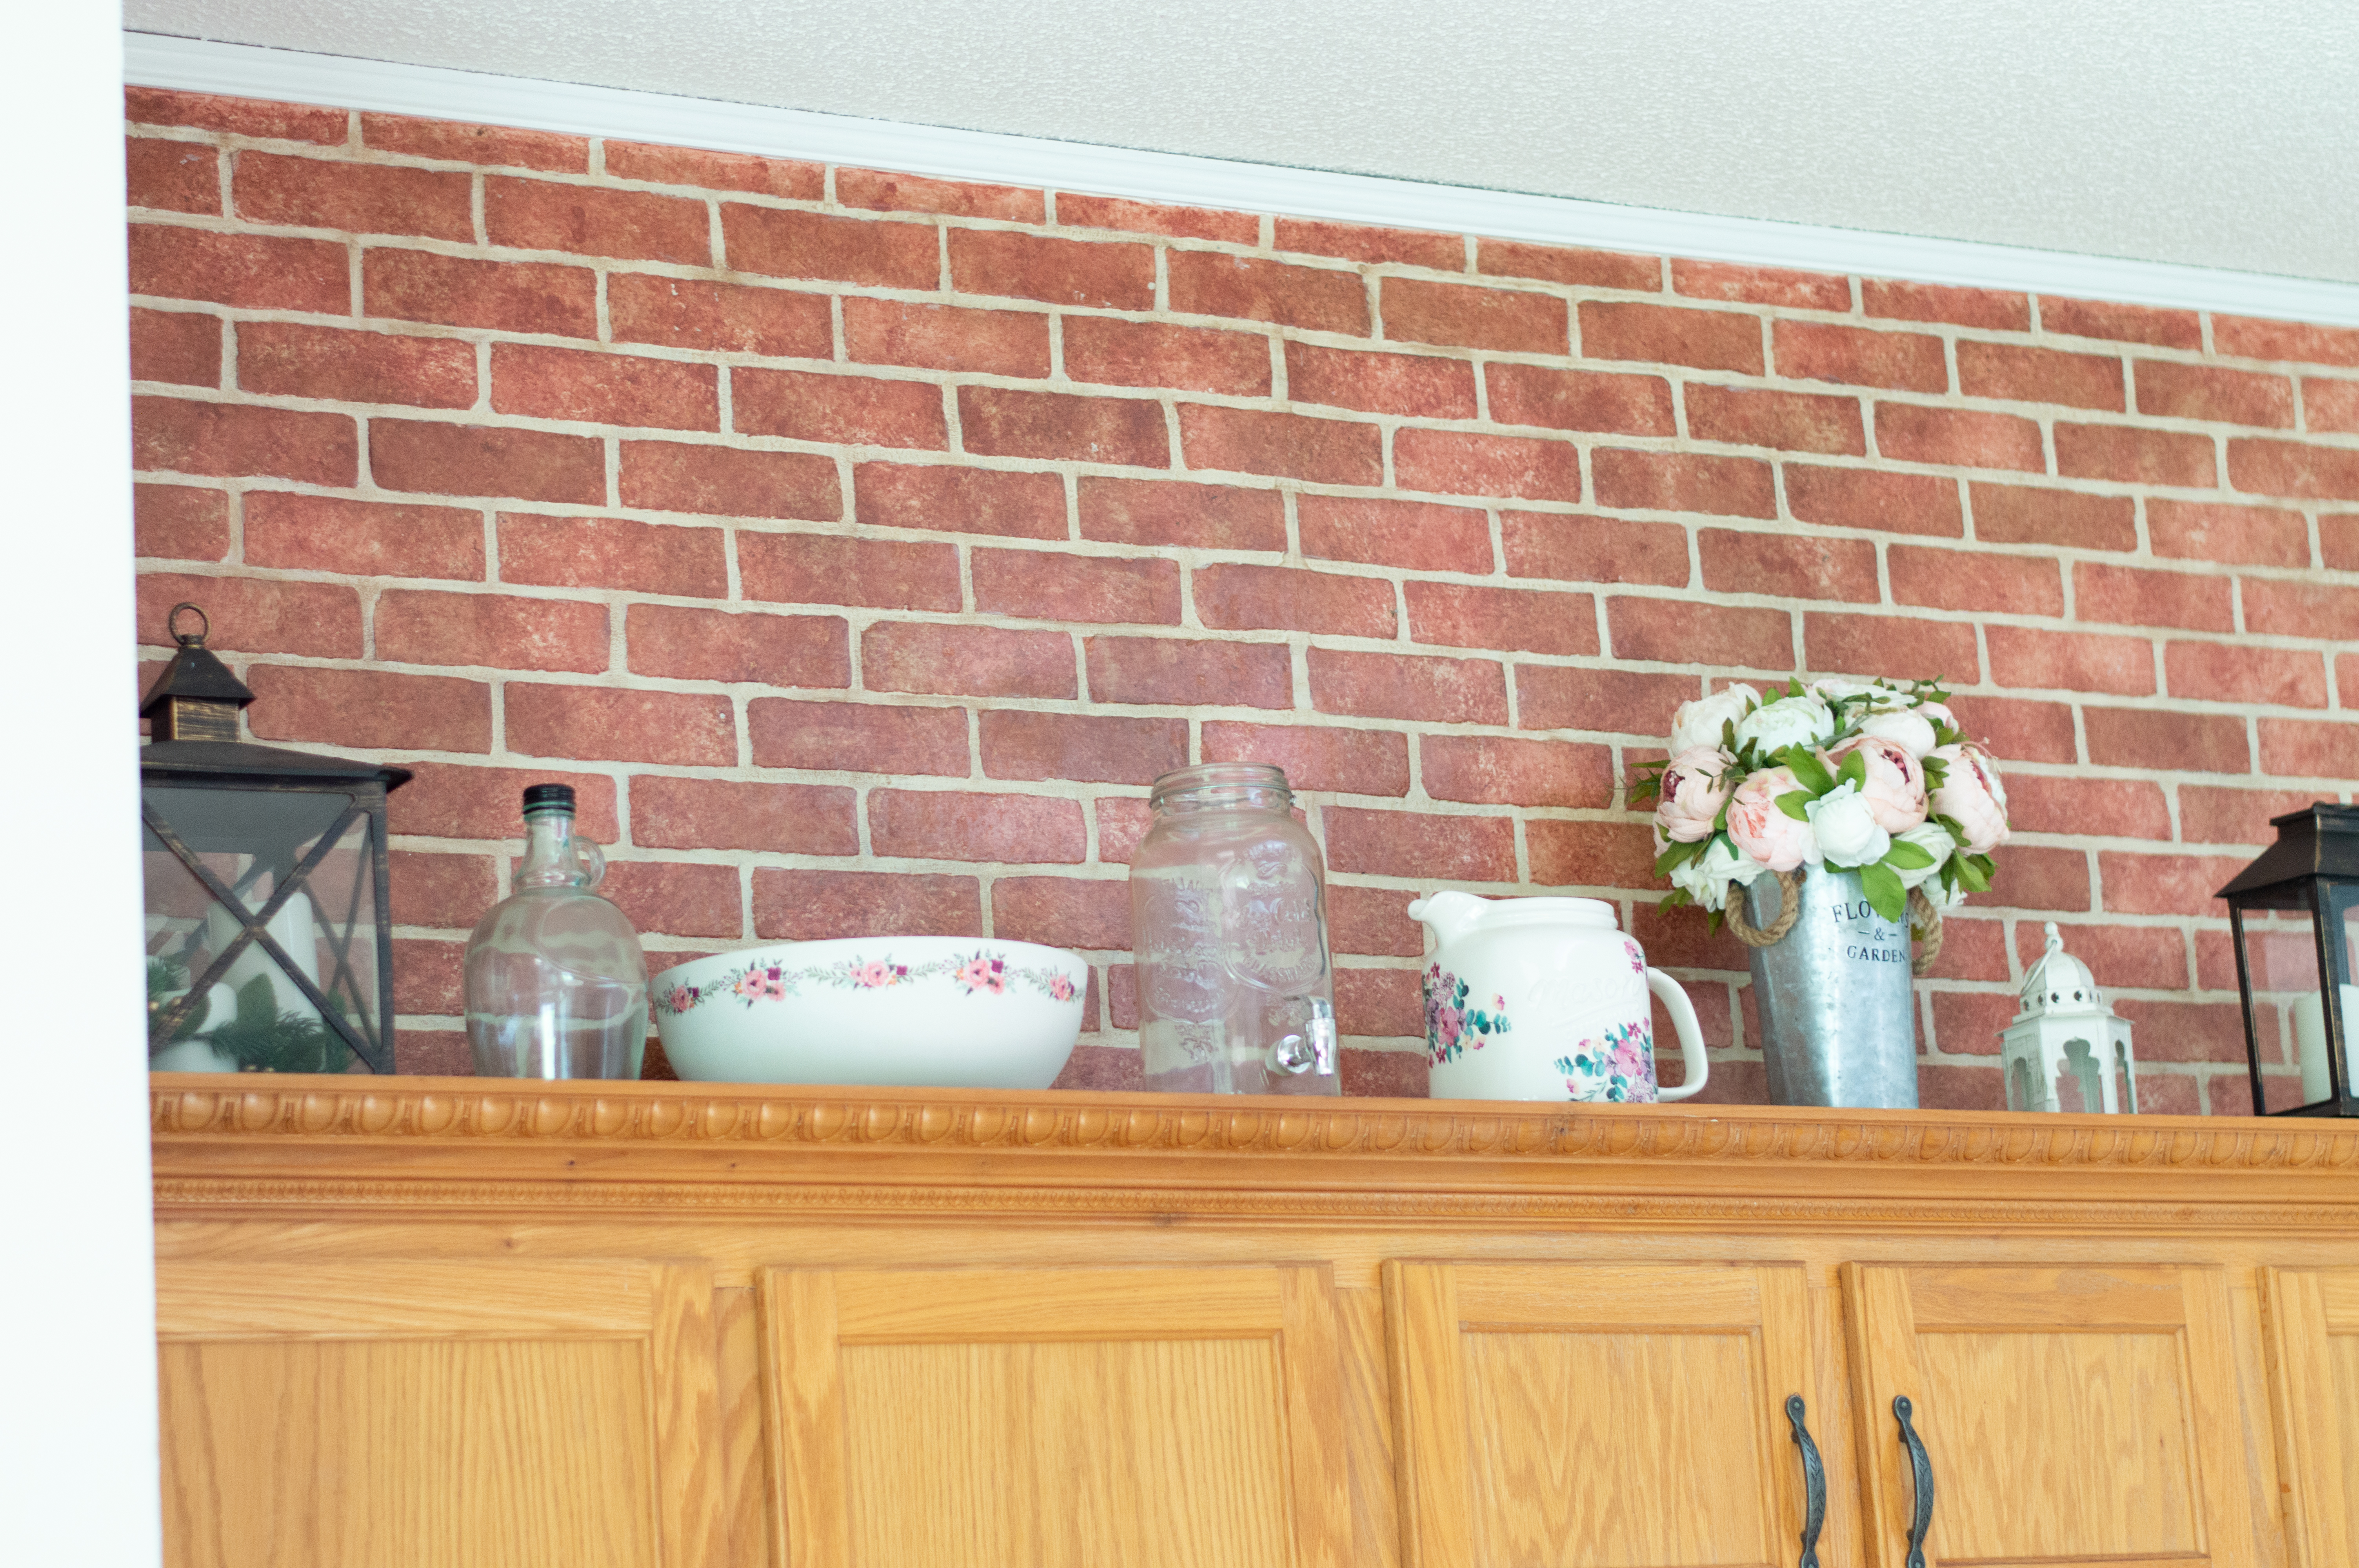
Friends, that’s about all I have for you. I’m really in love with my wall. Again, you have SO much control when doing this, and get to decide how much or how little coverage to apply. This was done on (heaven knows how old) faux brick paneling, and it still came out so nice. It would look even better on real brick, in my opinion.
I absolutely can’t wait to continue these kitchen projects and see how it all comes together in the end. Until then, how about some before and after photos??


Click the video below to watch me do it!